Hi,
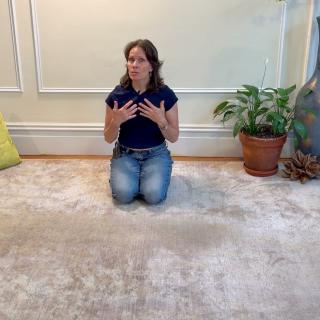
I'm Lisa.
I'm happy you're here for this HANA somatic yoga practice.
So you'll find there's a longer.
.
.
Practice where we were working with neck shoulder arms using hanosomatic exercises as well as yoga postures and I let you know that I was going to do a shorter so that if it's a day where you don't have as much time that you can devote to the practice,
You can still practice.
And so this is that video.
So if you find,
When you complete this,
That you're looking for more details,
A little more instruction,
Look to that longer format practice.
If you're new to Hannah's Soap Matic Yoga,
As general guidelines,
We don't force in this practice.
We stay within our own comfortable range.
And rather than you watching me and copying me,
You'll be invited to visualize the movement as it's instructed.
And then do.
What you visualize,
Do your version of the movement.
And sometimes a version for you might best be done only in your imagination.
If you find that my instructions aren't clear,
You can stop what you're doing.
Use me as a guide,
But then take time to really pause.
Visualize you doing what you saw me do,
And then do your version.
Okay,
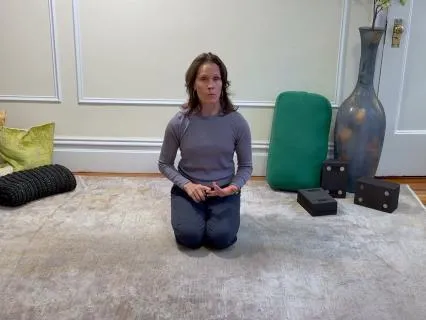
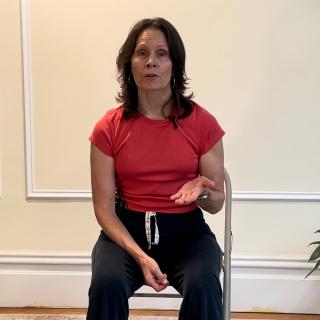
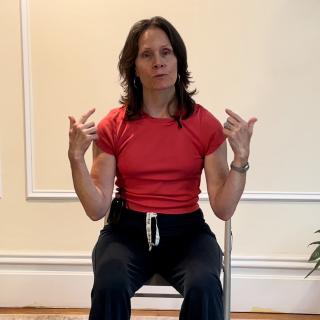
So sit comfortably.
Whatever that looks like for you.
And this is a wonderful movement.
You'll see it a lot in my videos.
It works specifically with upper trapezius.
You can do it anywhere,
And it's a very beneficial move.
You're going to gently lift your two shoulders up,
Tilt your head back just a little bit.
And slowly release.
When you're ready,
Do that again.
Draw your two shoulders up,
Tilt your head back a little.
And then slowly release.
And one last time,
You can breathe in as you lift your shoulders,
Tilt your head back.
Breathe out as you release.
Gravity is helping you to release.
You don't need to contract anything.
All you need to do is let go.
And you've just reset muscles in your neck and shoulder area.
They're now at a lower level of contraction when at rest.
So please now transition.
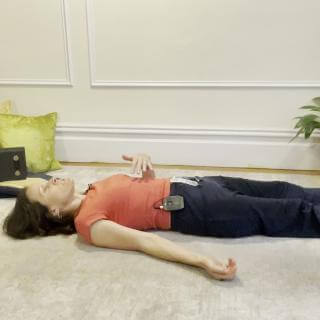
To a comfortable place on the floor.
Your knees can be bent or your legs straight.
And you can start to breathe a little more intentionally.
So it's slightly slower,
Slightly deeper.
You're tuning in to notice the sensations of your body.
And part of what you might be noticing is the effects of doing that somatic exercise.
If your legs are straight,
Bend your knees,
Stand each foot on the floor.
As you arch your low back,
You lift it.
Tailbone goes into the floor.
And you're gonna roll your two arms out and gently bring your shoulders back.
You've just contracted a lot of muscles in the back of your body.
Slowly and with control,
Release until you find your neutral.
Now roll your arms towards your body,
It's an internal rotation,
And as you bring your shoulders forward,
Flatten your low back,
Gently bring it towards the ground.
You just contracted a lot of muscles in the front of your body.
As you slowly decrease the level of contraction.
You come out of that pattern,
And you find new truth.
You can see if you can organize this to occur with breath.
As you inhale,
Roll your arms out in R.
Exhaling to release.
Same exhale or wait for your next exhale to roll your arms in and gently flatten your lower back.
Inhaling as you slowly return to neutral.
Same inhale or wait for your next inhale to roll your arms out and off.
Exhaling as you roll your arms in and flatten.
Inhale as you release.
And one last time.
In you'll roll your arms out and up.
Slowly release,
Return to your neutral.
And now.
Bend your elbows so that your palms face each other.
We're going to call this neutral and we're going to do some movements to work with muscles in your arms and hands.
Moving at your wrist,
Bring your palms towards your body,
That is wrist flexion.
Slowly release,
Your hands won't come up again.
So now extend your wrists,
Contracting muscles on the other side of the joint,
Which causes your palms to face more towards the ceiling.
Andrew Lee.
And flex.
Staying within your own comfortable range of movement.
Alternating between extension a relief,
And then flexion at your wrist.
The next time you're in neutral pause.
If directionally you think about that last movement as being front of wrist and back of wrist,
This next movement happens at the side of your wrist.
Keep your palms facing each other,
Moving at your wrist.
Bring the pinky side of your hand towards the floor.
Release and now bring the thumb side of your hand towards the floor.
And release.
Find that little bit of a release in between the movement of taking pinky side of hand towards the ground.
And then thumb side of hand.
One of the things you're trying to do.
Is to figure out how you could do the movements you're doing.
Easel.
Take care,
See you.
And the next time you're in that neutral pause,
Now your wrist movement is going to be preceded by a movement of your forearm.
Turn your forearm so that your palm faces your head.
And in that position,
Flex your wrist,
Which is your palm,
Going towards the floor.
And release out of bow.
Now turn your forearms so your palms face your feet.
And with your arms in that position,
Do wrist extension,
Which is your palms towards the ceiling.
And release to the neutral position.
Turn your forearms so palms face your head and flex your ribs.
Slowly release.
Turn your forearms,
Palms towards your feet,
And extend your ribs.
Slowly return to neutral.
And now as you let your hands come to the floor,
Your brain is talking to your bicep muscles.
And it is resetting the level of contraction to a lower level.
Let your hands and arms rest in whatever position feels comfortable for you.
Before we do a couple of postures,
Now let's do the arch and curl.
Place your hands underneath your head.
On an inhale,
Arch your back,
Gently bringing tailbone,
Head and elbows behind you.
Slowly release.
Curling forward,
You bring your elbows in front of you,
Flatten your low back and use your abdomen to bring your head forward.
And slowly release.
As you inhale and arch,
You can lift your heels.
Exhale return to neutral,
Curl forward,
Pick up level with foot.
Inhale slowly return to neutral.
Breathe in as you arch and lift your heels.
Breathe out as you slowly return to neutral.
Breathe out as you curl forward and pick up.
Slowly release.
You can lengthen your arms and your legs down the floor if it's comfortable.
Take a moment to tune in.
You may notice you have new sensations within your body.
That's the sensory feedback and we're very interested in tuning into that sensory feedback in this world.
Visualize your first yoga posture.
Visualize the legs up position.
Then slowly bend each knee,
Stand your foot.
Bring your knees into your body.
Extend your legs up,
Going only as far as you can go without pulling on something that feels like it's pulling against you.
Continue to breathe regularly as you hold the posture.
Stay connected to the internal sensations of holding the posture.
If you notice some part of your body becoming tense,
See what you might do to ease that tension.
Slowly come out of that legs up posture.
Find a comfortable position on the floor.
Invite your body to relax for a moment and tune into the sensory feedback.
Visualize the cat-cow posture You're on your hands and knees.
Arching your spine,
Which represents the cow.
Releasing and then flexing your spine,
Which represents the calf.
Your attention is on the side you're contracting.
That's the side your body is bending towards.
Once you visualize it,
Slowly transition.
And as you're doing your cat cow,
You can do the same pattern in your ankle that you're doing in your spine.
So as you arch like the cow,
You extend your ankles.
You're pointing your feet up.
There's a return to neutral and as you flex your spine like the cat,
You flex your ankles,
Your heels are moving away.
Continue for 2 or 3 more cycles.
And when you've completed.
If it's comfortable.
Find a version of child's pose.
We're just going to take a short relaxation.
You may stack your hands,
Or if it's better,
Have a prop for your head.
You can have your arms in front of you or alongside.
Just take a brief moment.
Visualize coming to your hands and knees again.
Reaching your right arm forward as you reach your left leg back.
And then maybe lifting your right arm and left leg into a bow.
Once you visualize that,
Slowly do what you visualize.
Bring as much ease into this posture as you can.
Continue to breathe as regular.
After about 20 seconds.
Release and change sides.
With as much control as you can,
Release.
And now do find a comfortable position on your back.
And we'll take the full minute for you to relax in your body and tune in to get the sensory information.
Breathing a little bit deeper.
Scanning your body with your mind.
Okay,
Bend your knees,
Stand your feet.
If you can.
Cross your arms over your chest.
Hold opposite shoulders.
You can feel with your hands then what your shoulders are doing.
And it also rounds your shoulder girdle,
Which can be helpful in doing this movement.
Gently roll your head and shoulders to one side.
Take your knees to the opposite side,
So your pelvis is turning to the opposite side.
Leave your feet on the floor.
Now roll your head and shoulders to the other side.
And take your knees to the opposite side.
And continue to slowly alternate rolling side to side Your head is turning with your shoulders.
Pause with your head and shoulders turned right and your knees left.
And gently turn your head to the left with your knee.
Now as you turn your shoulders to the left,
Take your knees and face to the right.
And continue.
Your knees and shoulders go to opposite sides of your body.
And you're turning your head with your knees rather than with your shoulders.
Return to your neutral.
Release into a comfortable position.
Relax and tune in for a moment.
And now gently bend your knees,
Turn to the side,
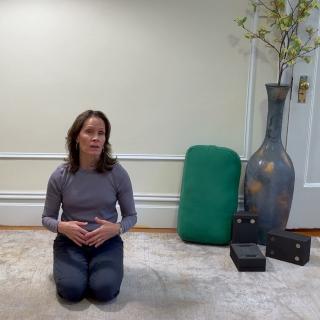
Come up to sit.
Find a comfortable way of sitting.
Place your attention in the area of your heart.
If it helps you,
You can put your hands over your heart to focus into that part of your body.
Your eyes can be opened or closed.
Begin to breathe a little bit slower,
A little bit deeper than you were breathing a moment ago.
Find what feels comfortable for you.
Begin to imagine you were taking those breaths in and out of your heart area.
Return to natural breathing.
Bring your attention to sense the ground under you.
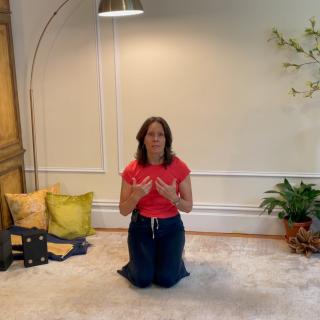
And if you're in the heart mudra like I am,
One hand over the other over your heart,
You can keep your hands there.
If you're not in it,
You could put your hands there.
So we'll close chanting Shanti three times.
You take a full breath in.
To the end of your exhale,
You chant shanti,
Shanti,
Shanti ki.
The third shanti is the great shanti.
And as you're chanting shanti,
Which means peace,
You can Open your hands and arms to the floor.
Symbolizing the expansion of that peace throughout you and from you to others.
Take a full breath in.
Shanti Shanti Shanti Bye.
Thank you so much for joining me today.
Have a wonderful day.
Namaste.